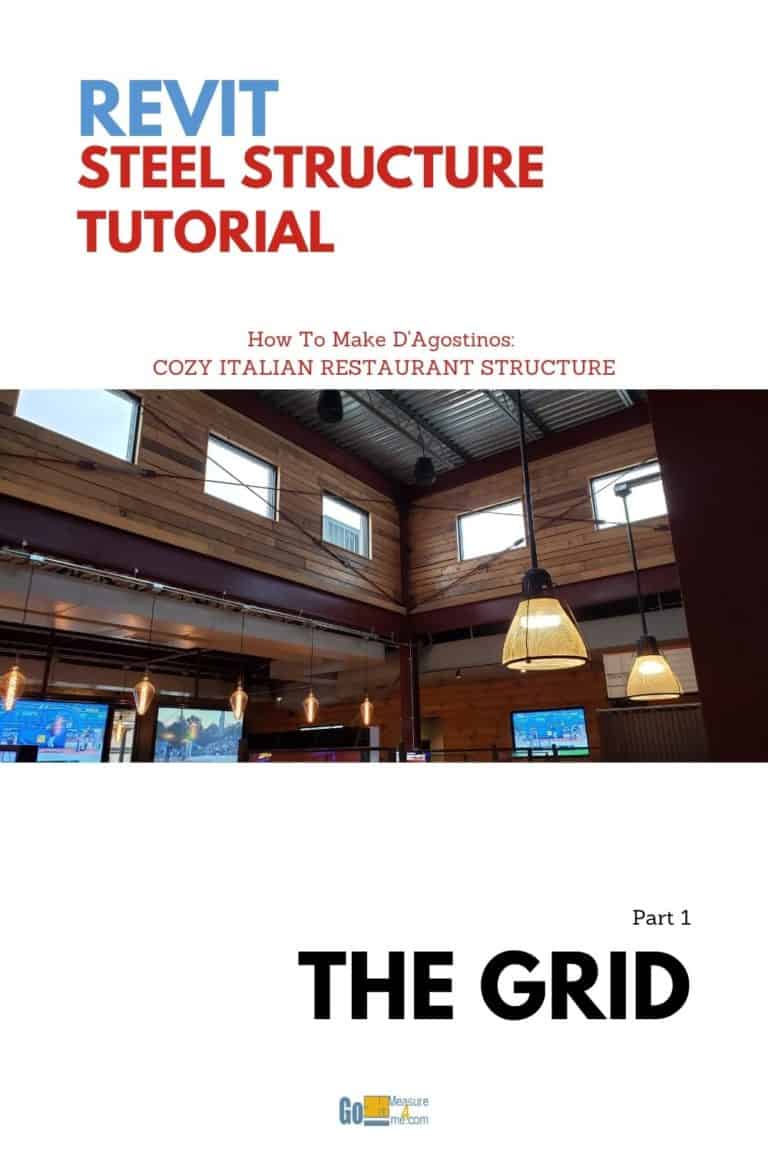
If you want to learn how to apply Revit to create structural drawings, this tutorial might assist you. In this tutorial, nosotros will create a consummate 3D model, a gear up of drawings, and a consummate set of shop drawings for steel production. The tutorial is based on the project I did in 2020 – a cozy Italian joint with excellent pizza.
Watch a short video that will show you step-by-step how to draw a structural filigree:
Open Revit. Choose Create a New Project using an Regal Structural Template when you are in the U.Due south. or a Metric Template if metric units are used in your area. Click OK .
TheNew Project volition be created.
Open Site Plan (or any programme) and, in the Compages tab, find the Grid tool located on the left side of the toolbar. You tin also use the shortcut "GR" to activate this tool.
Place the cursor exactly where you wish to kickoff a filigree line. Left-click to start the grid line. Move the cursor to the spot where you want to stop the grid line and printing the left button. You lot can likewise enter a numeric value instead.
To testify a filigree bubble, check the petty box in a higher place the created grid line.
Once you have your start grid line established, you can gear up up a distance to the next line by typing the value in the Commencement box. Next, click on the light-green start Pick lines tool in the Depict department of the menu.
Add the next grid line to the left or right of the previous one, and and then echo the process.
-
PRO TIP #1:
- The grid lines are named automatically, but you tin interrupt and change the naming sequence of hereafter grids by double-clicking in the bubble and changing the name. Y'all can also change the name of the grid afterward.
PRO TIP #two:
- If you desire to adjust the scale of the view, you can choose a scale from the standard scales or you can fifty-fifty make up your ain.
PRO TIP #3:
- If you desire to move the entire grid line, select all the grids and motility them using the Move
To describe horizontal filigree lines, the process is exactly the same as drawing vertical grid lines. One time you lot accept drawn the first grid line, you add the other filigree lines by specifying the get-go from the previous grid line. It is that easy!
By typing "A" in the bubble, I am establishing a naming sequence that starts with the letter "A."
PRO TIP #4:
- If you make a fault and y'all want to accommodate the distance betwixt the grid lines, all you need to do is place a dimension line between the grid lines and blazon in the new distance.
PRO TIP #five:
- You tin modify the properties of the dimension lines equally they are fully customizable. Become to the Properties and modify the parameters you lot need to adapt. I am changing the colour to blue and the text groundwork to transparent.
- Yous tin can add together or remove dimensions from the cord by invoking the Edit Witness Lines tool on the ribbon.
- You tin freeze the distances between the grid lines by locking the dimension lines betwixt them.
- You can adjust the length of the grid lines by grabbing and moving the grip at the ends of the grid line.
And that concludes this tutorial. You but made the entire grid for the restaurant in less than 10 minutes! Congratulations!
Don't forget to subscribe to my weblog to receive notifications about my new posts!

Source: https://gomeasure4me.com/revit-tutorial-part-1-making-a-structural-grid-in-revit/
Posted by: wellsdresse.blogspot.com


0 Response to "How Do I Start To Create A Structural Revit Drawing"
Post a Comment