

How To Make A Pop Out Card Makeup

This past Christmas, I made a pop-up bill of fare as a function of my gift to my husband. I've loved making simple popular-up cards since high school and it dawned on that we don't have a tutorial for this on our blog. Since and then, I've been meaning to remedy that and I finally made the time to put together this piddling tutorial on how to brand a uncomplicated pop-up bill of fare.
 There are then many means you could customize this for any vacation or equally a fun birthday card. The pop-upwardly bill of fare I fabricated for Trey for Christmas had a simple pop-up version of the NYC skyline, as I got him a trip to NYC as his Christmas souvenir, which we had to postpone/cancel due to COVID-19. It's the thought that counts? 🙁
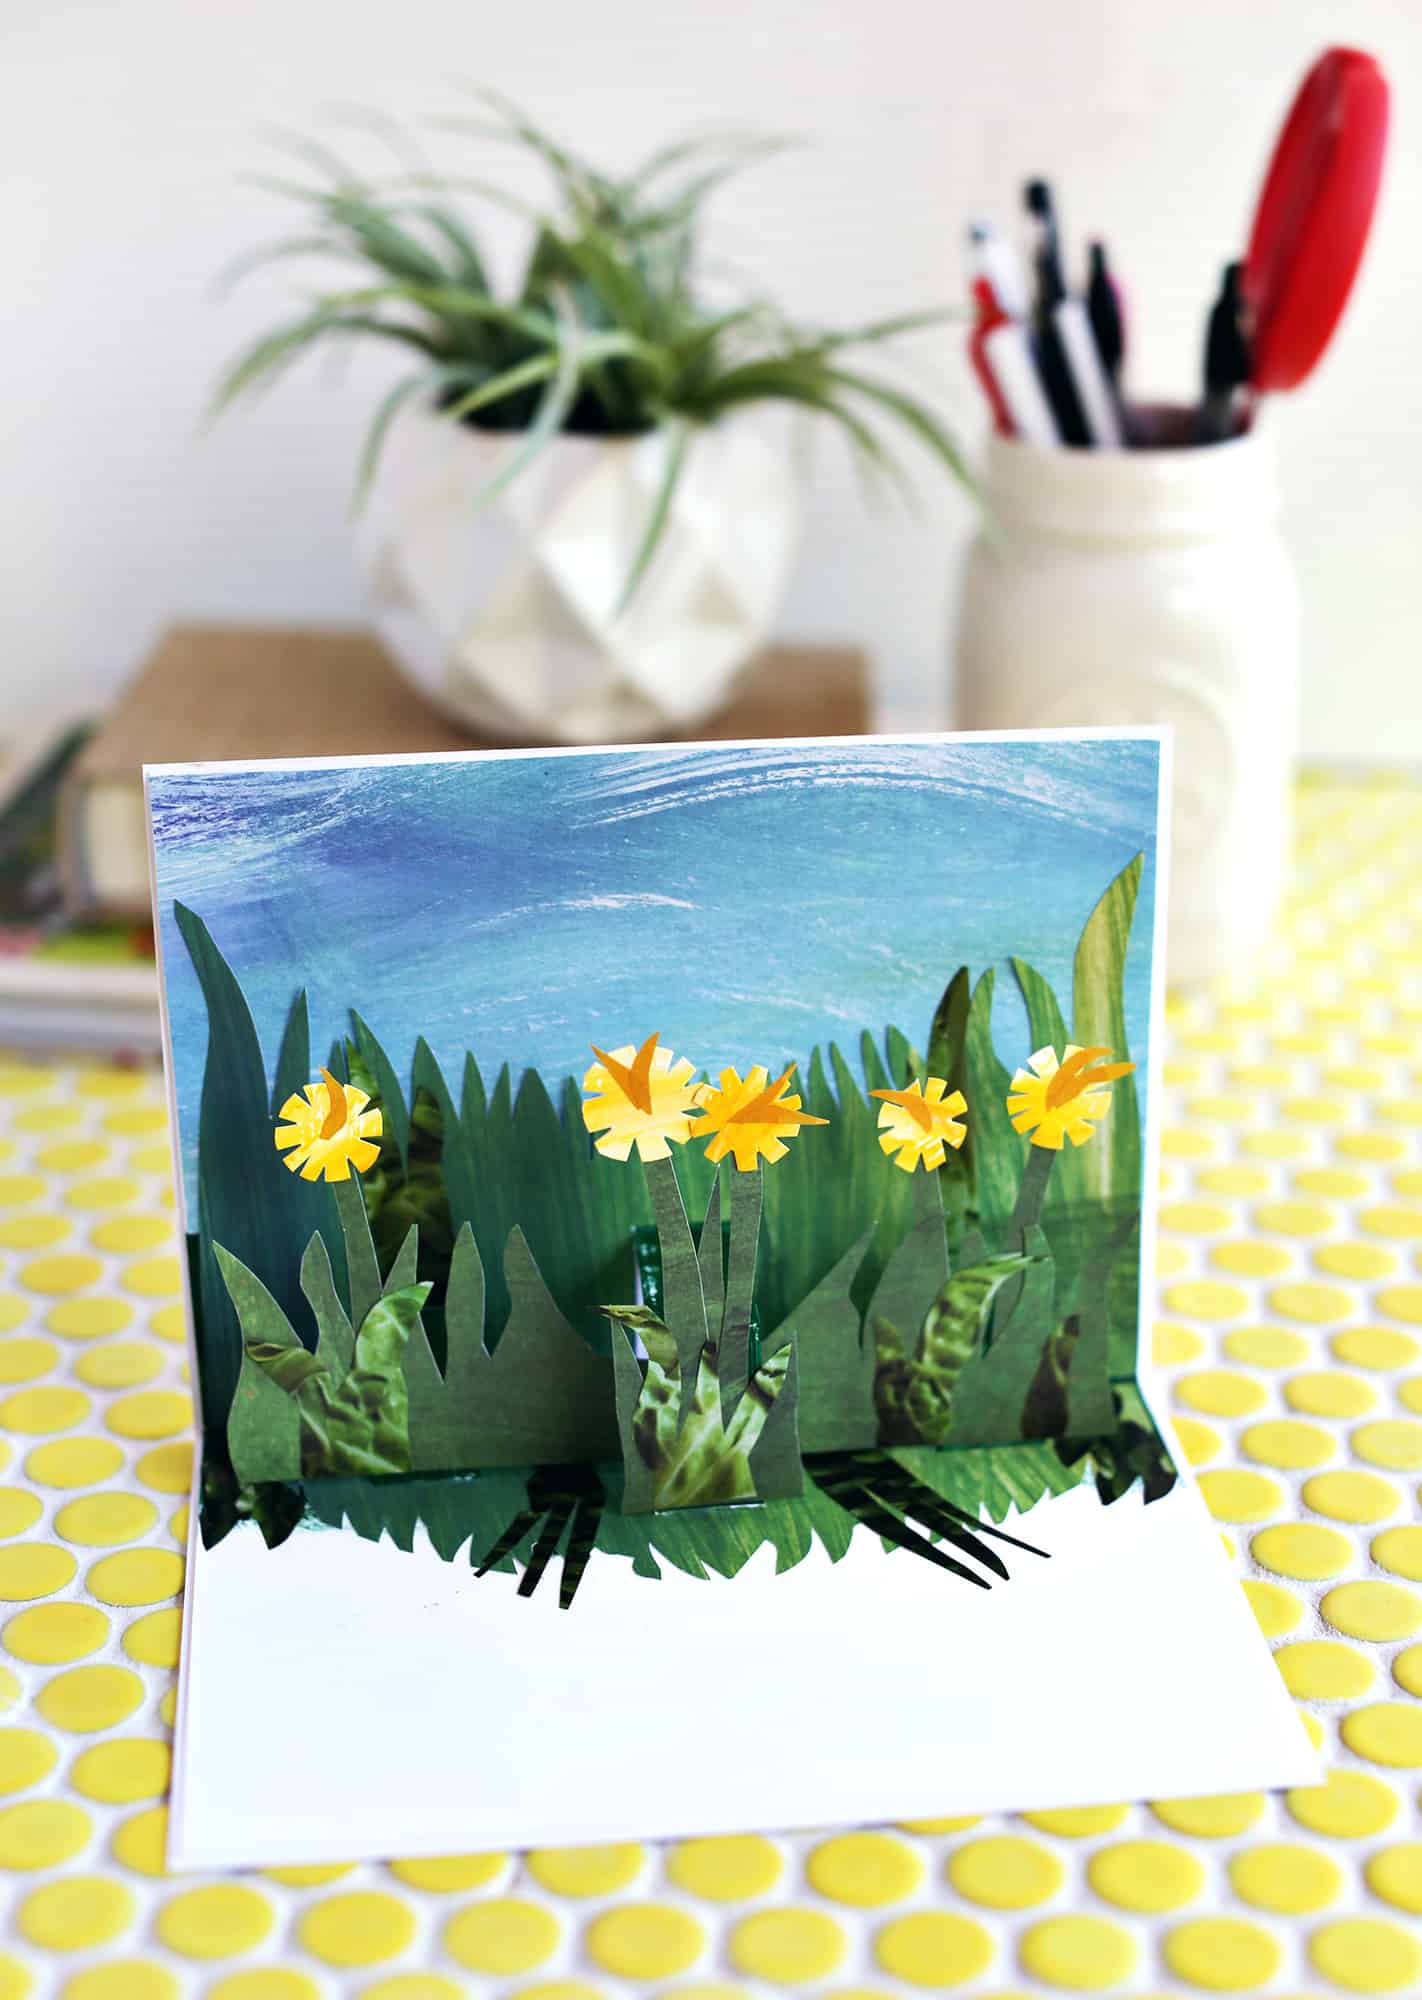
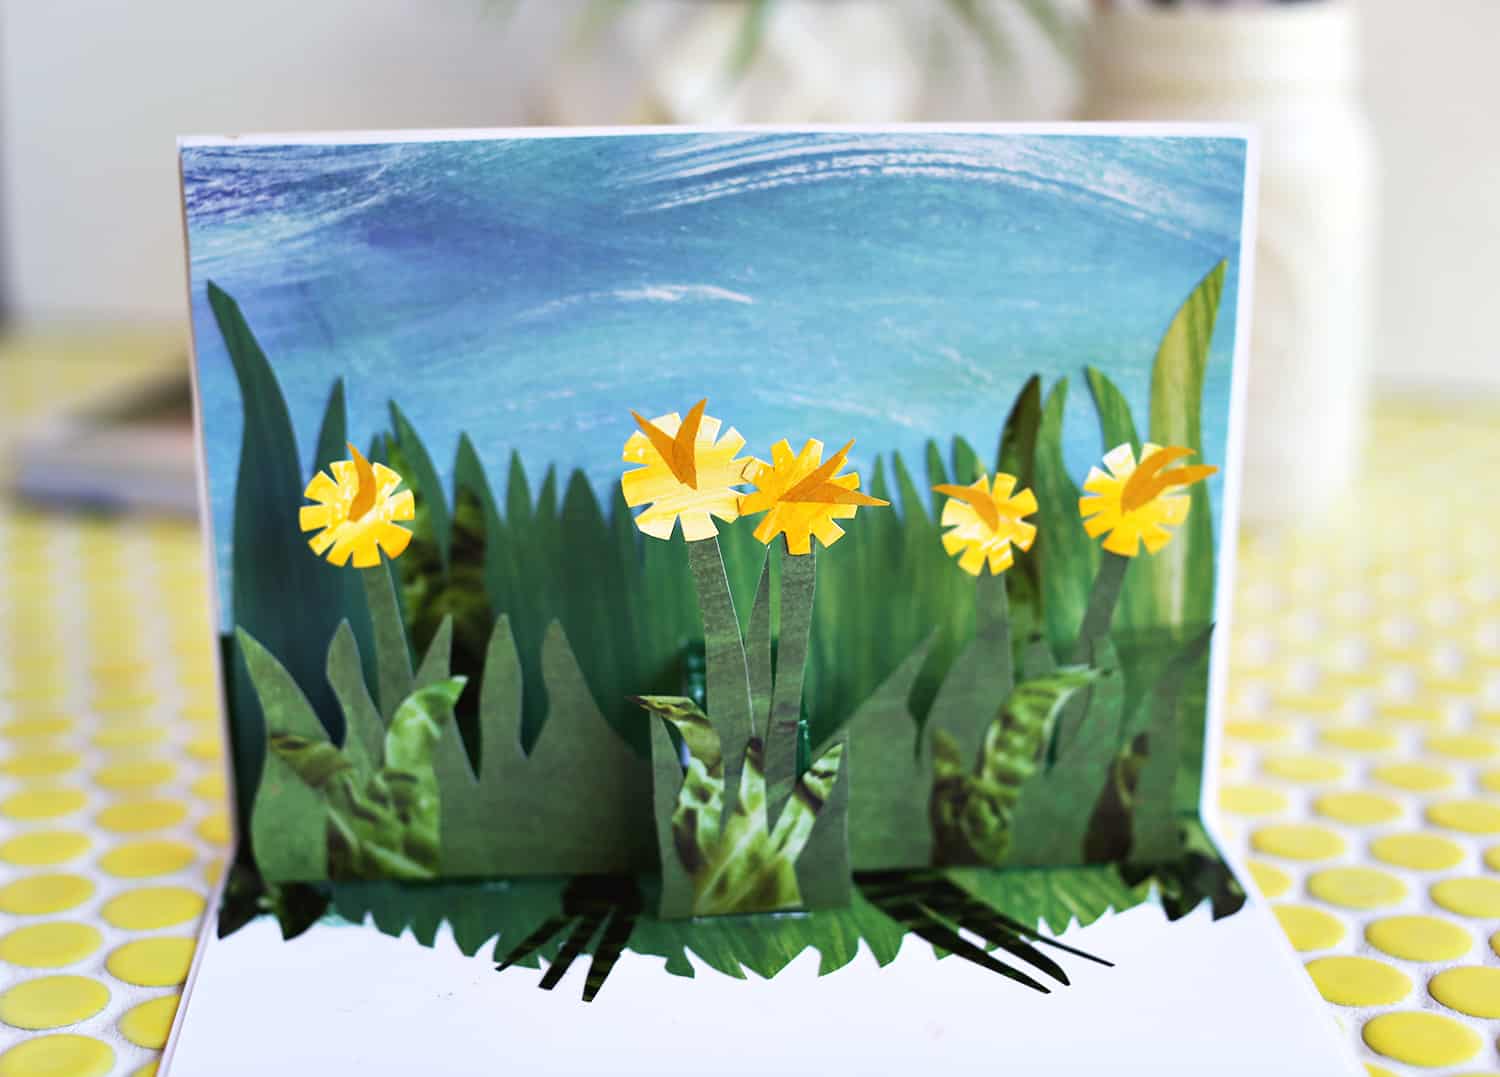
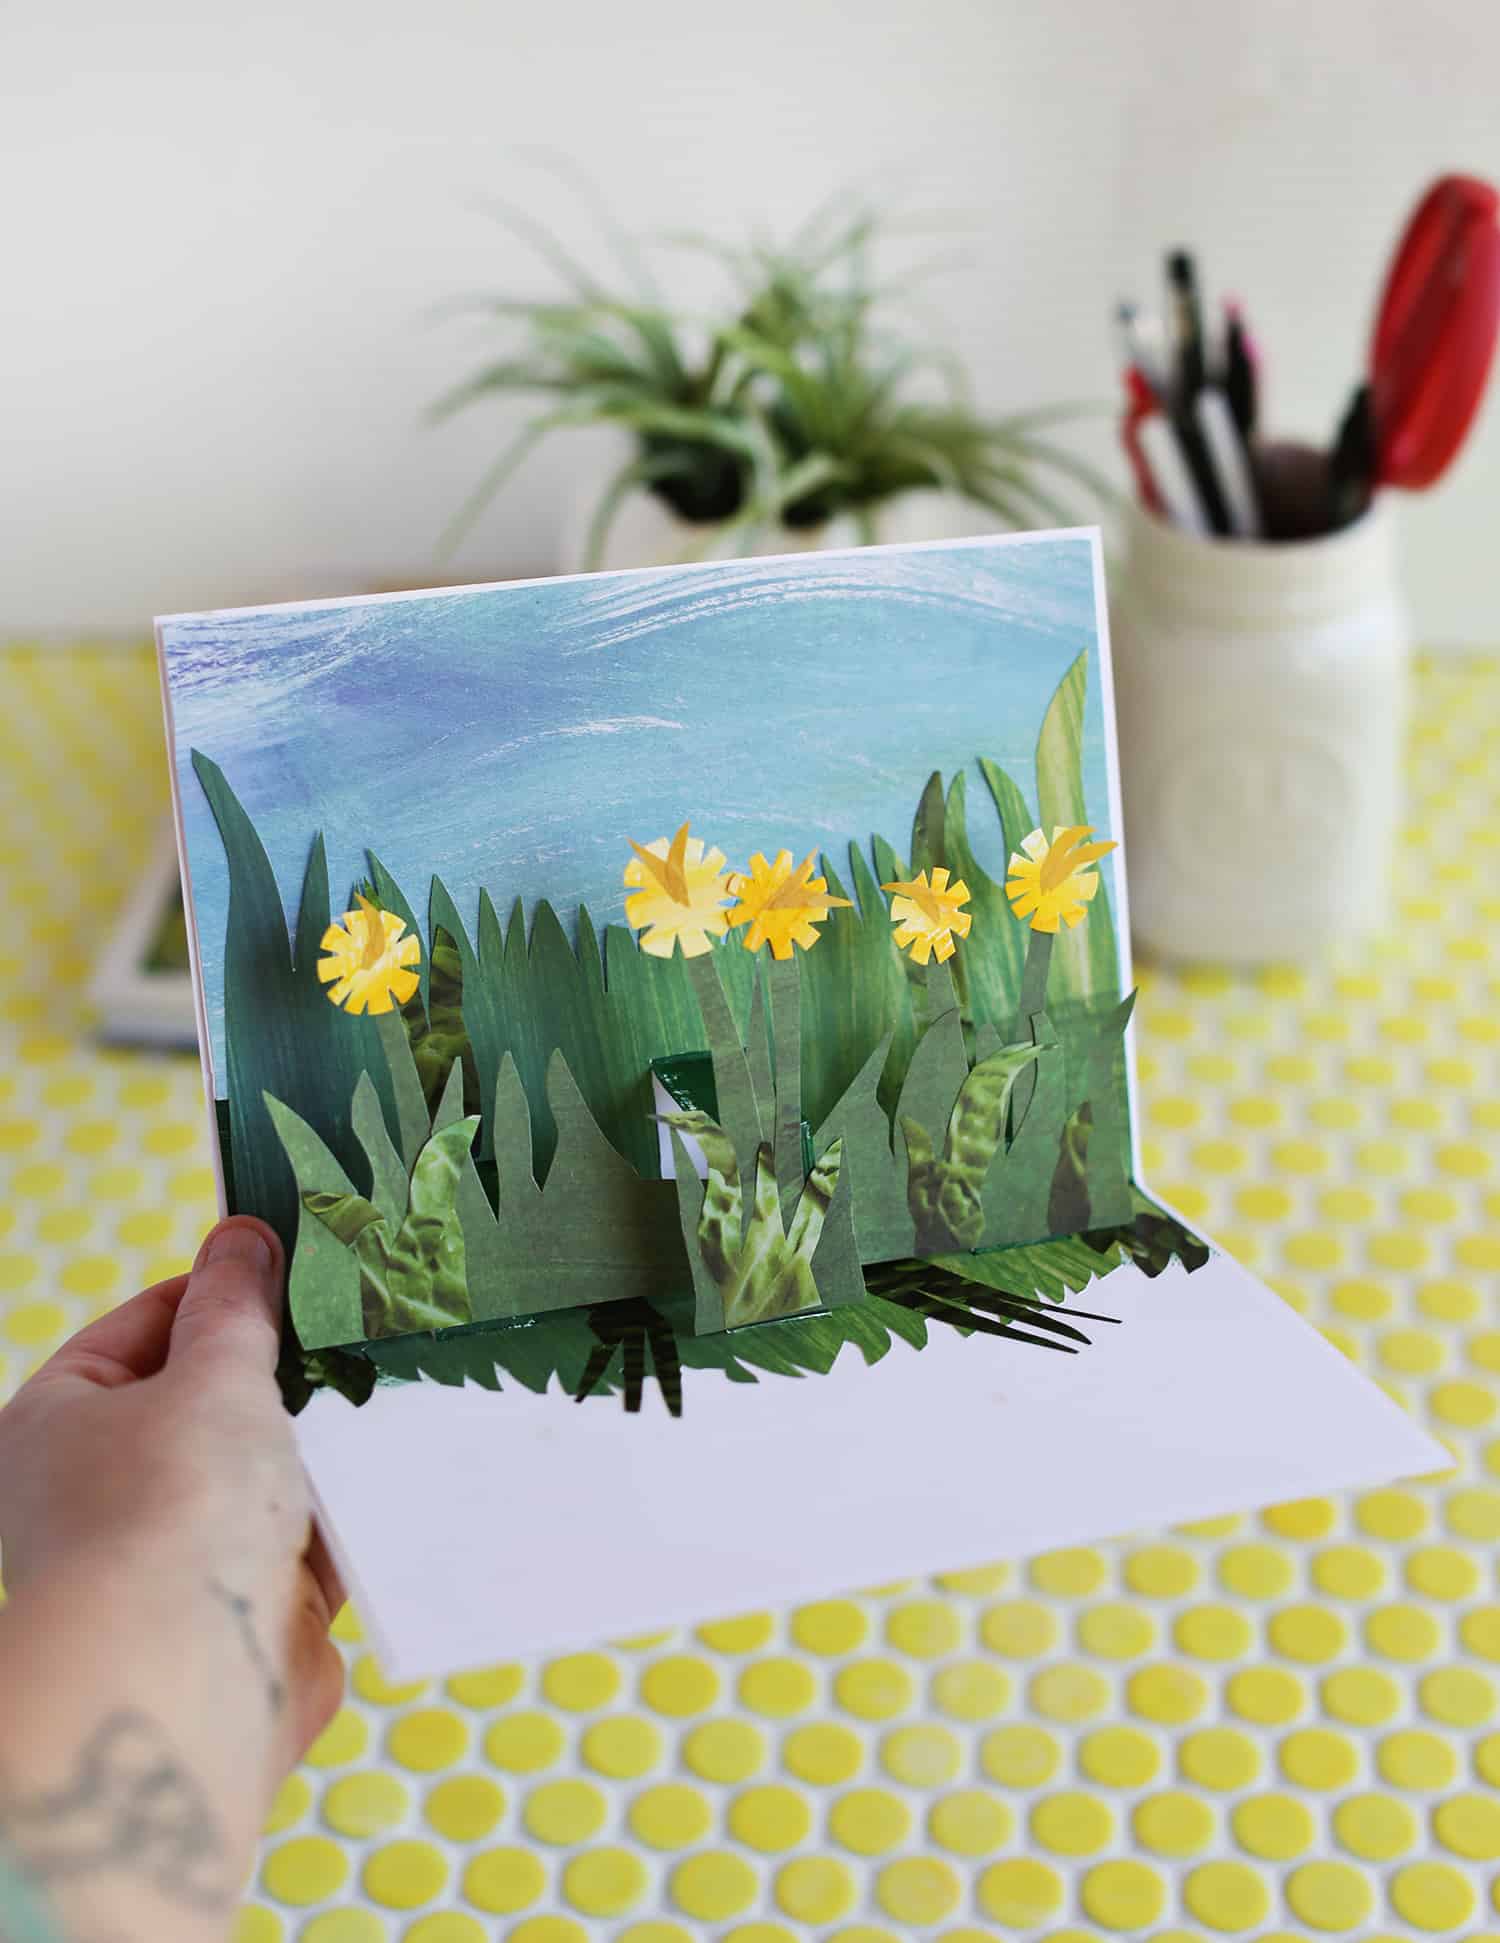
Anyway, as you can come across I did kind of a bound flowers theme for this one. I'grand planning to mail it to my nieces, hopefully information technology makes them smile.
 Supplies:
-paper
-scissors
-glue or mucilage stick
-collage papers or photos
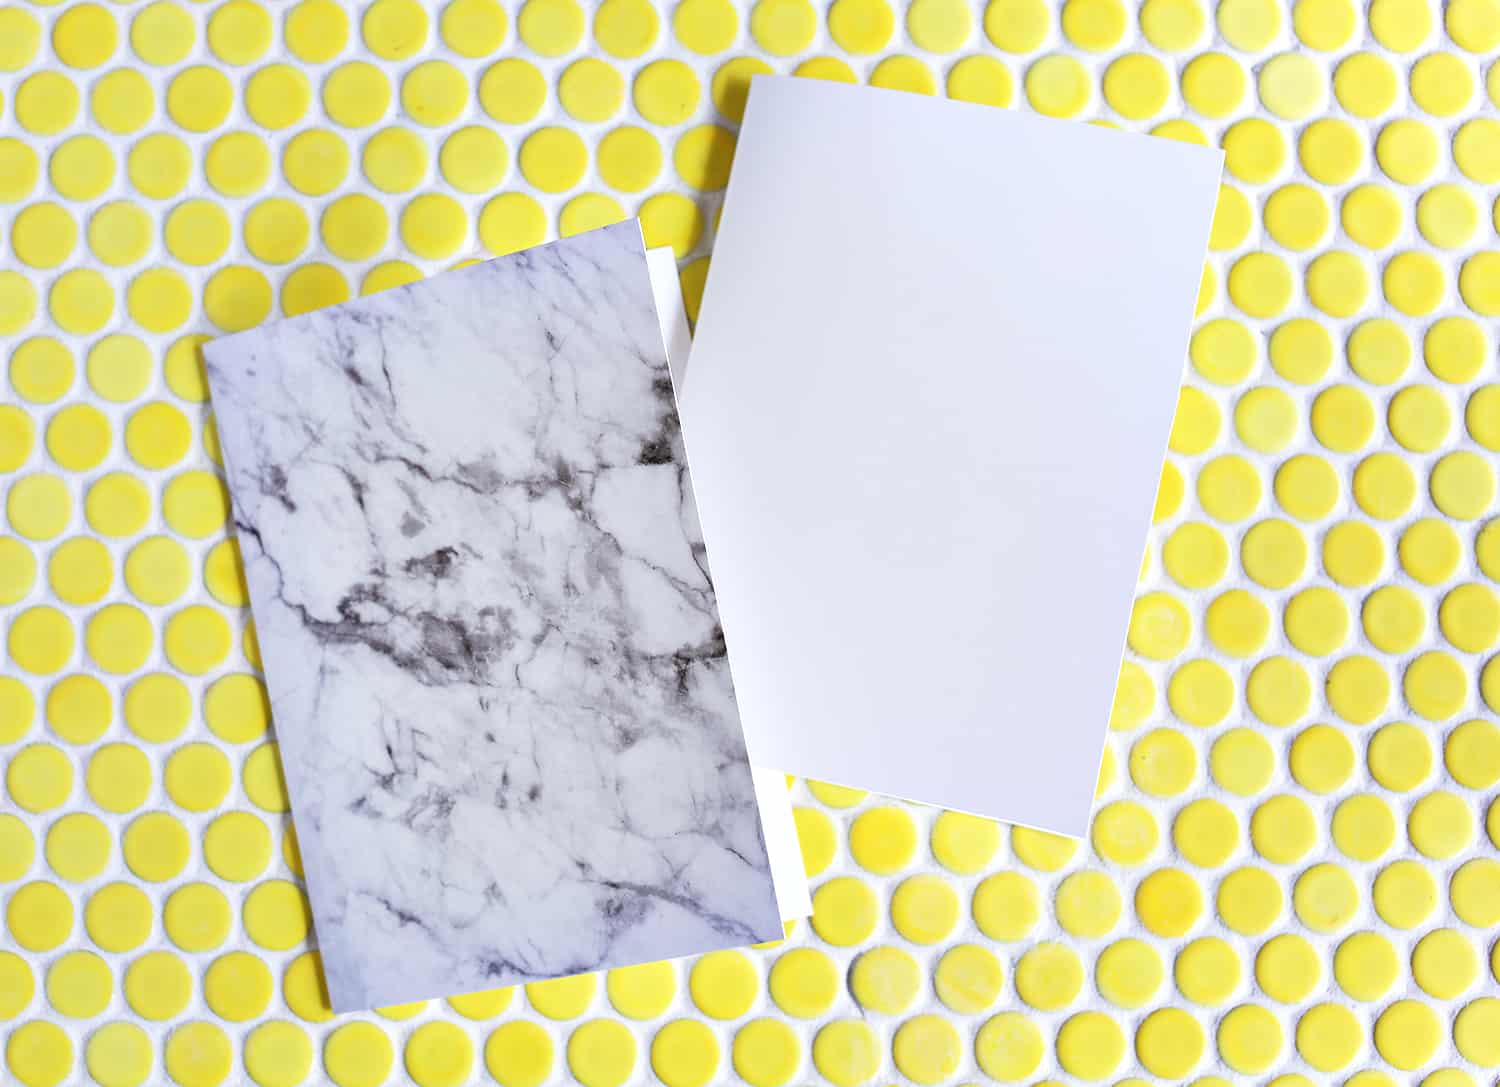
Step One: Create a carte that fits within your outer bill of fare. The outer card can be something y'all already have that yous bought or you lot can brand both. But you lot want 1 card to fit snuggly inside the other.
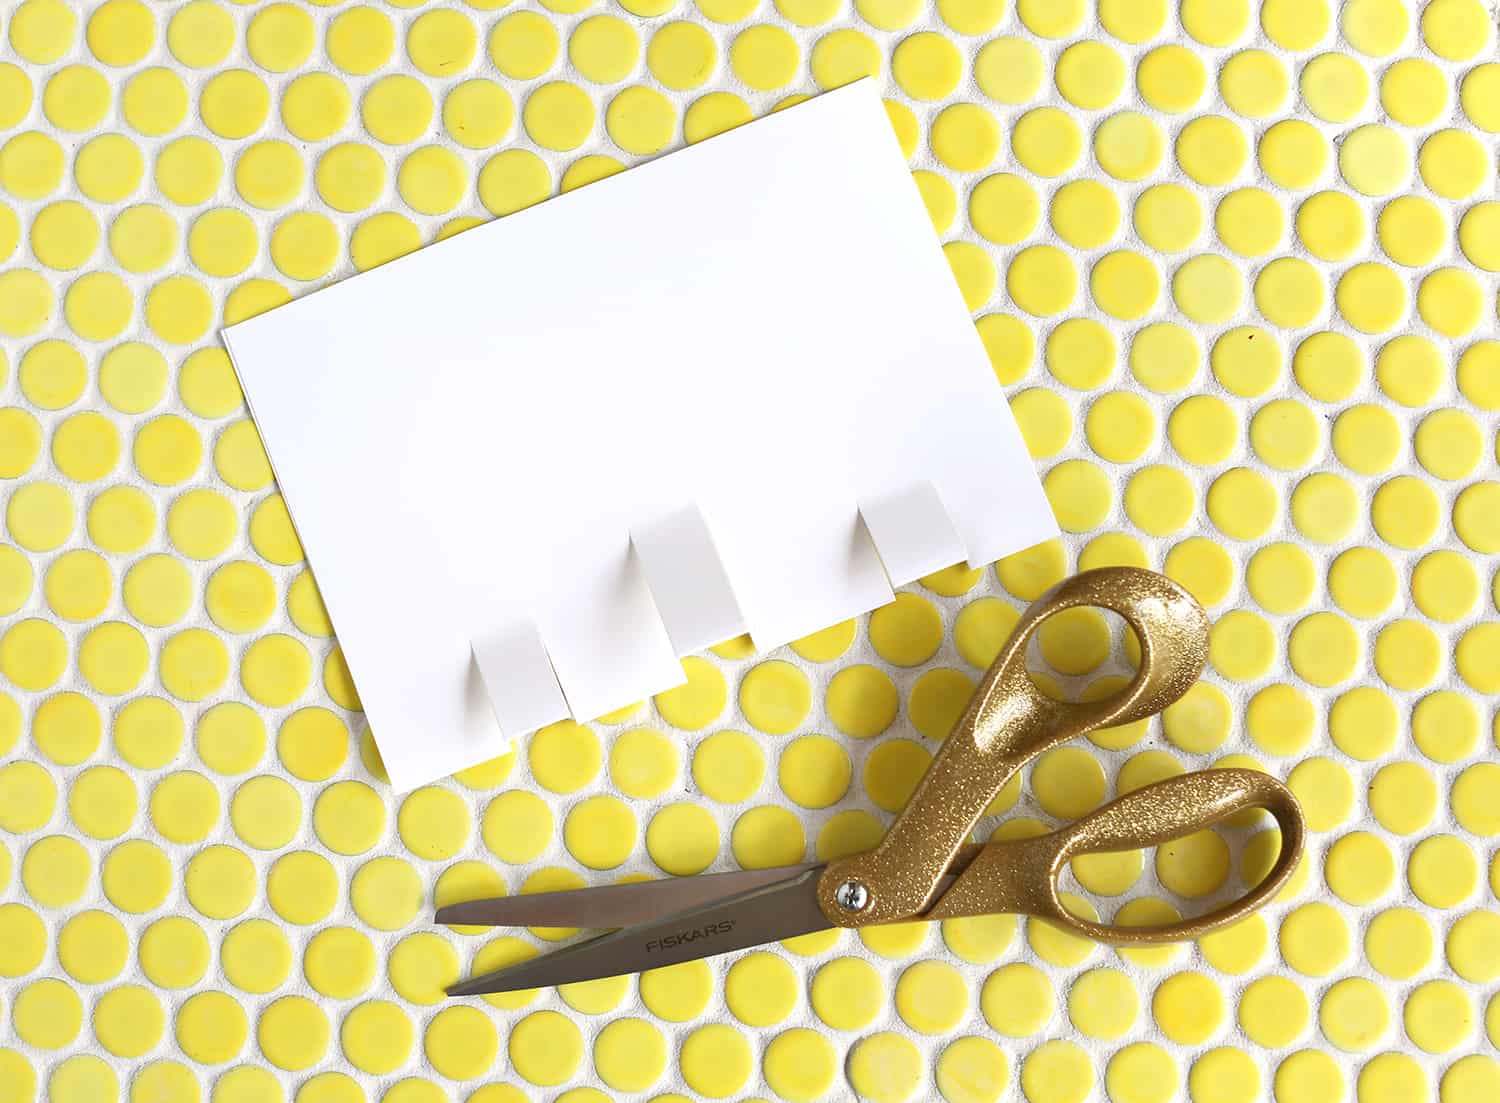 Step Two: Cutting tabs to hold your pop-up elements. Yous can have one main tab or multiples. I fabricated three as the outer 2 are for 1 layer and the middle one is larger for a 2d layer.
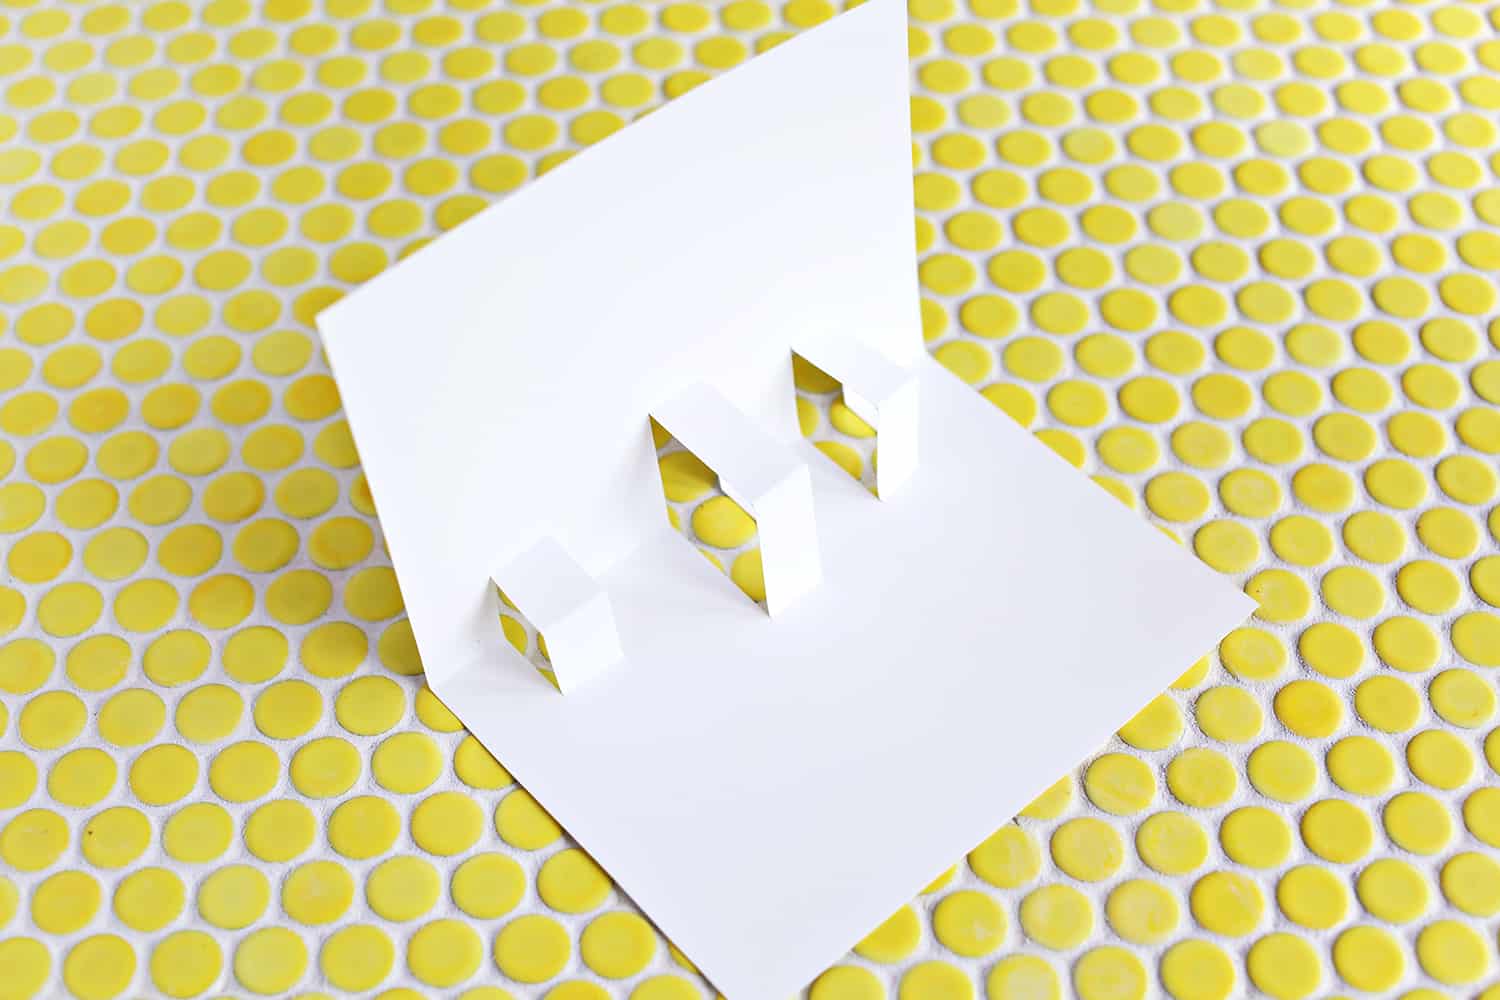 Hither you lot tin see the tabs once they are folded in, this is where we will eventually add our collage or photo pieces.
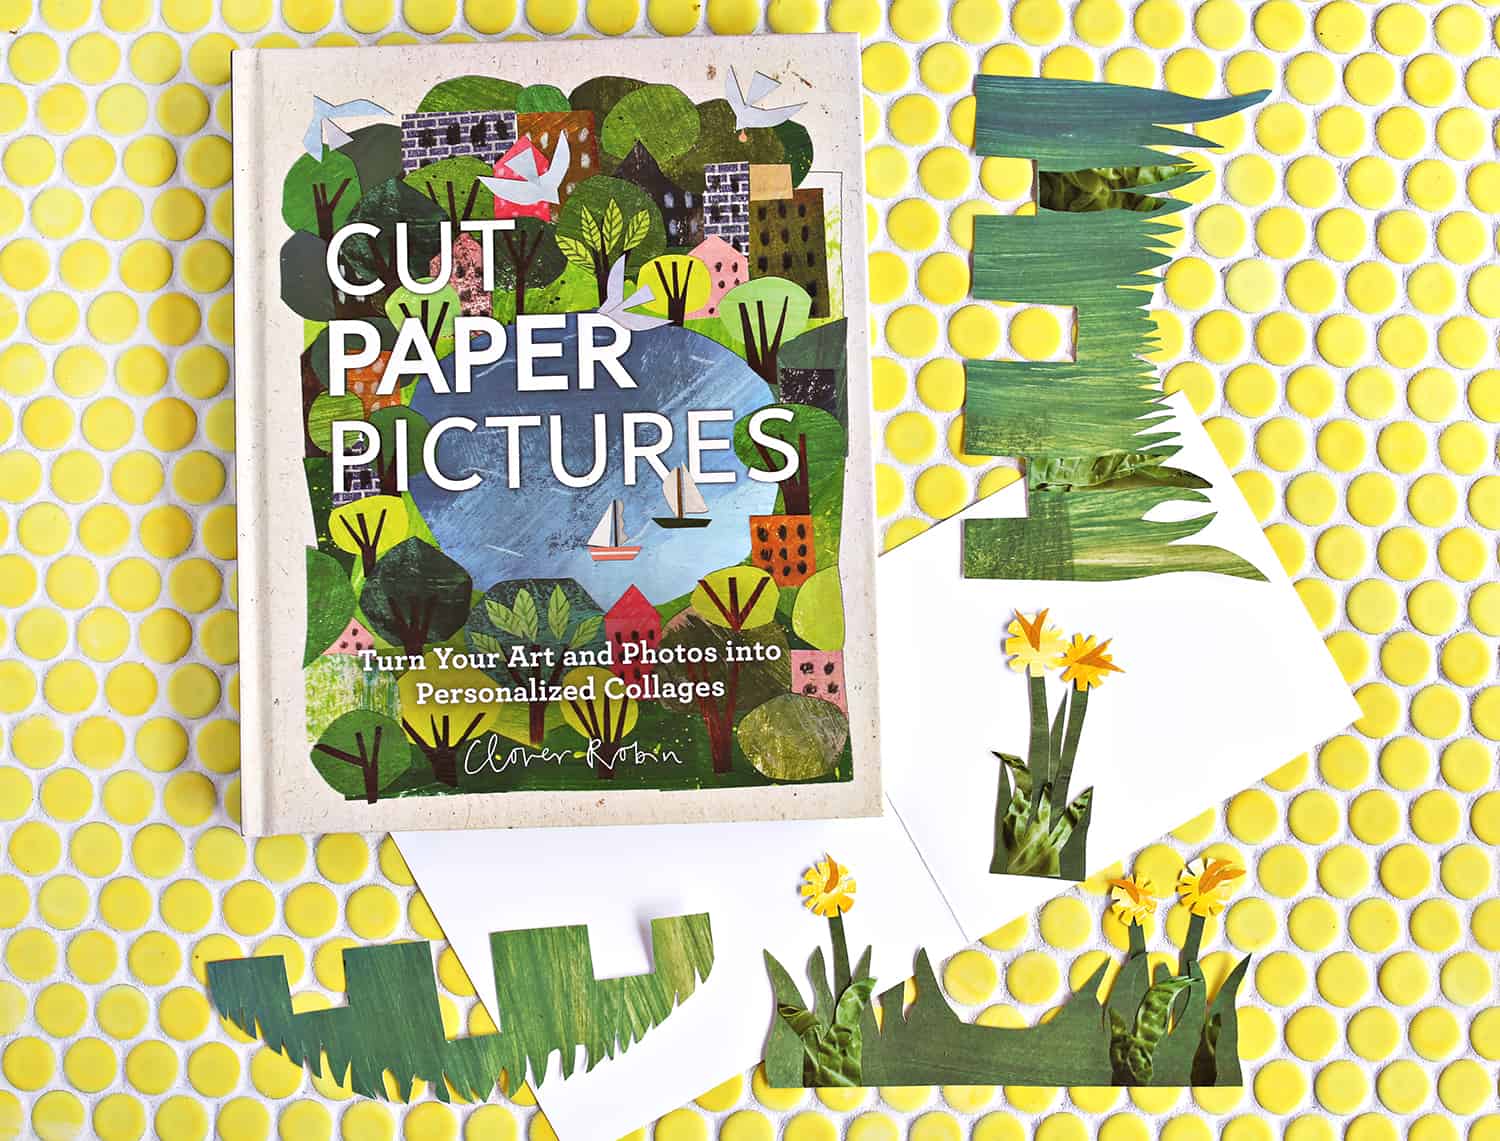 Step 3: Create the within elements for your bill of fare—the pieces that will popular up.
I have been loving this collage volume, Cut Paper Pictures. I love making collages, and that's the await I did for this simple popular-upwards menu. Only you don't take to make collage pieces, yous could cut out simple shapes from colored newspaper or use photos for the inside elements of your card.
1 note: Brand sure the inside elements you create won't hang off the edge of your card once it'due south airtight. Just place them on the tabs to see before the adjacent footstep.
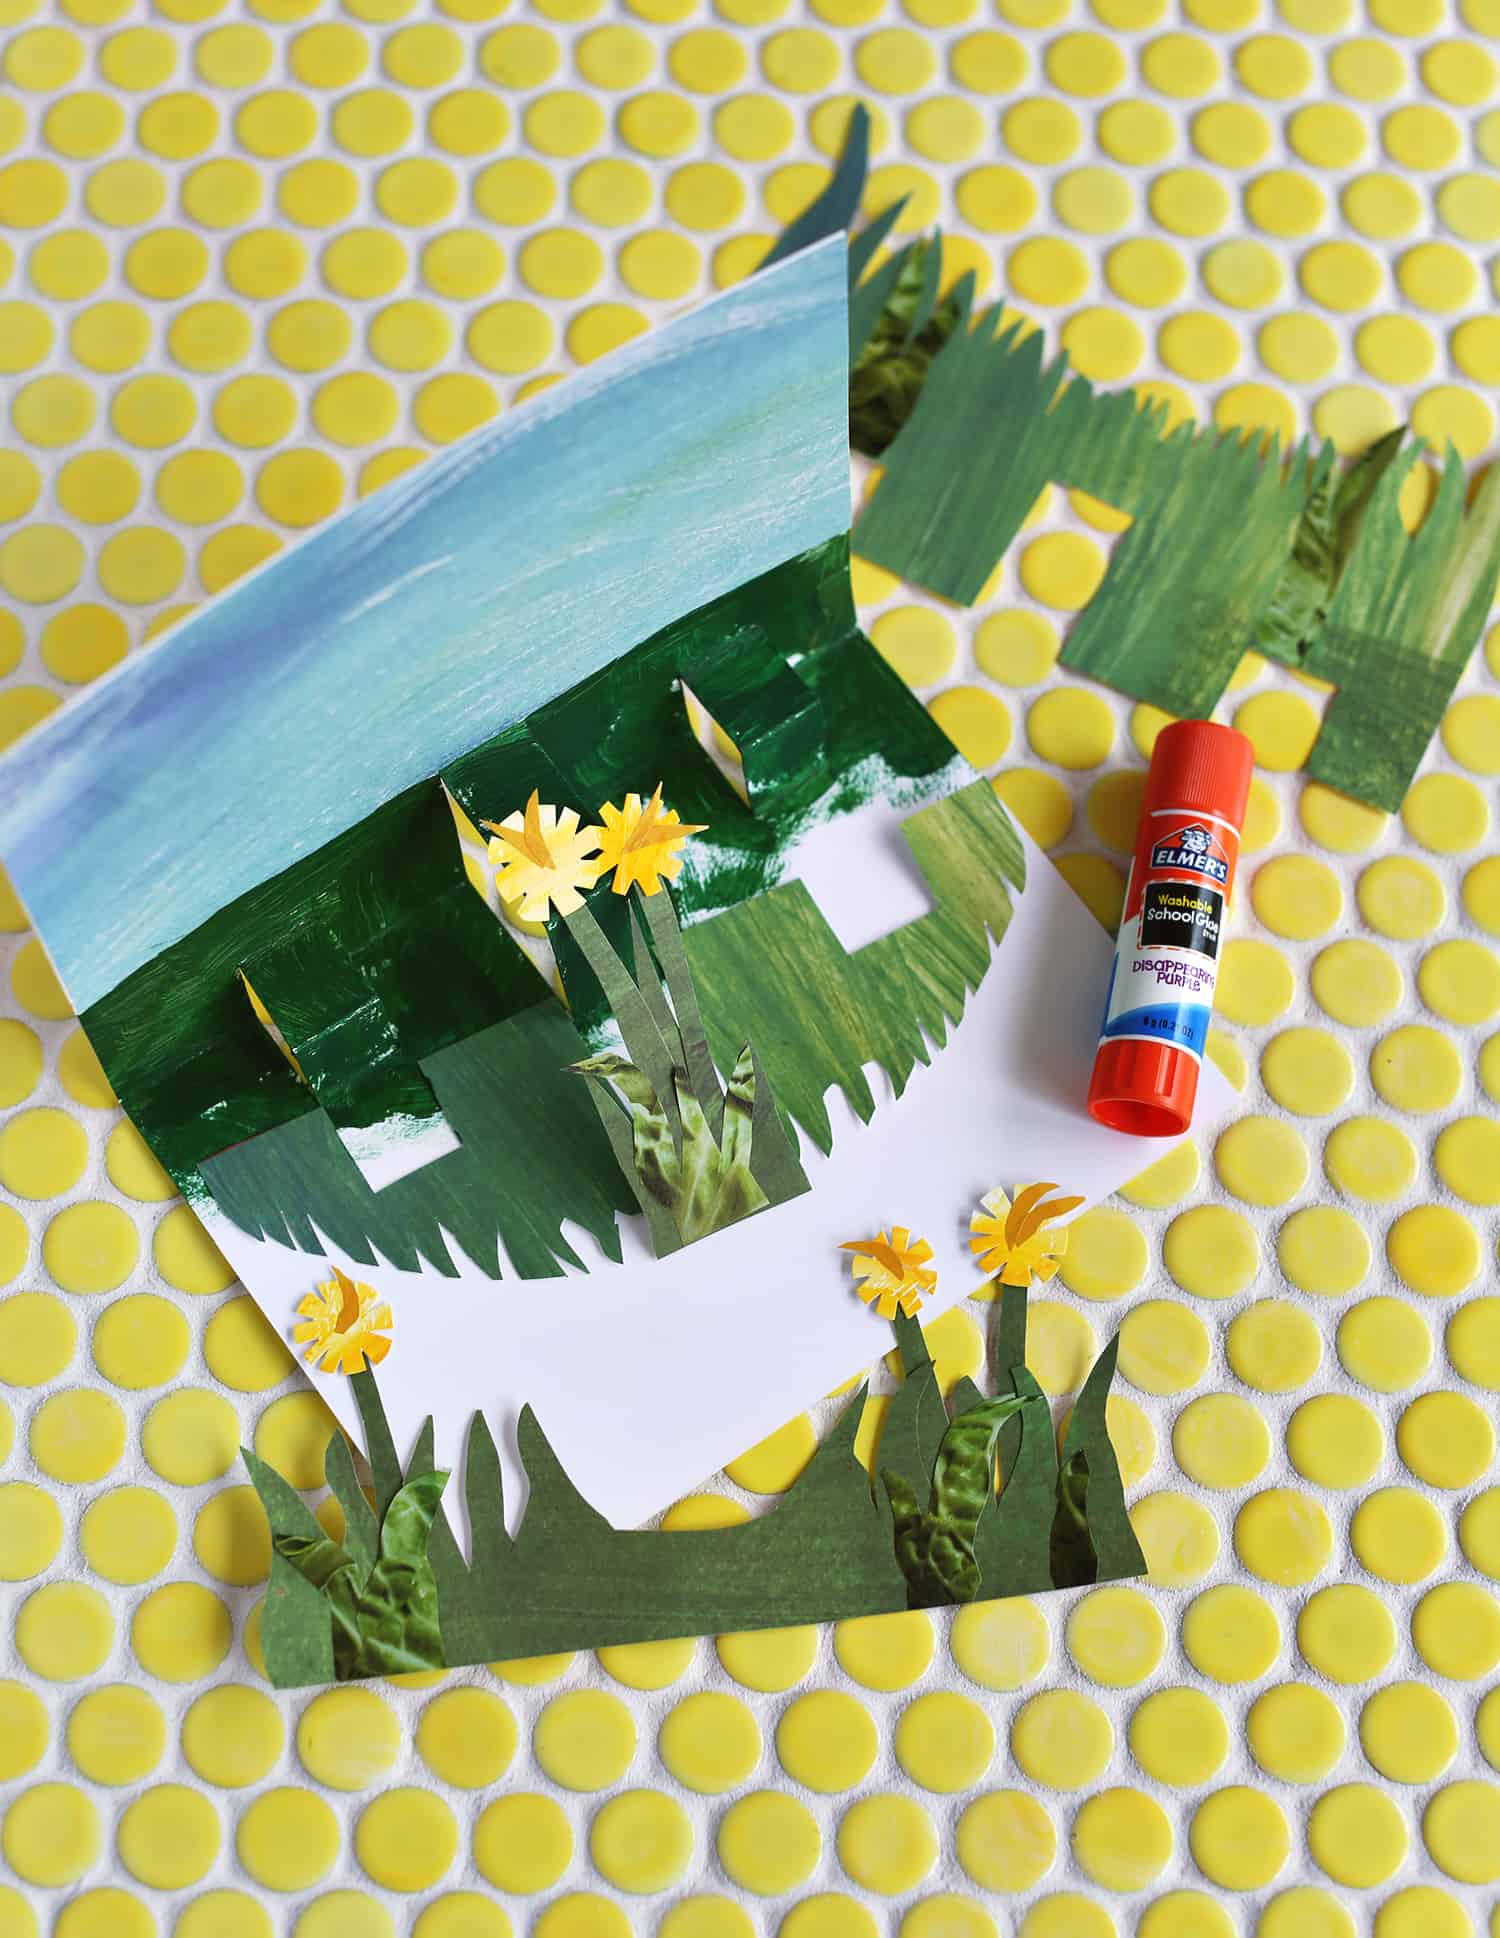 Step Four: Get together the carte. I like using a glue stick or something low-cal here as the dry time is much faster and the papers are less likely to wrinkle with the moisture from the glue. Once all the pieces are in identify, glue the inside card to the outer card, careful not to glue downwardly the tabs.
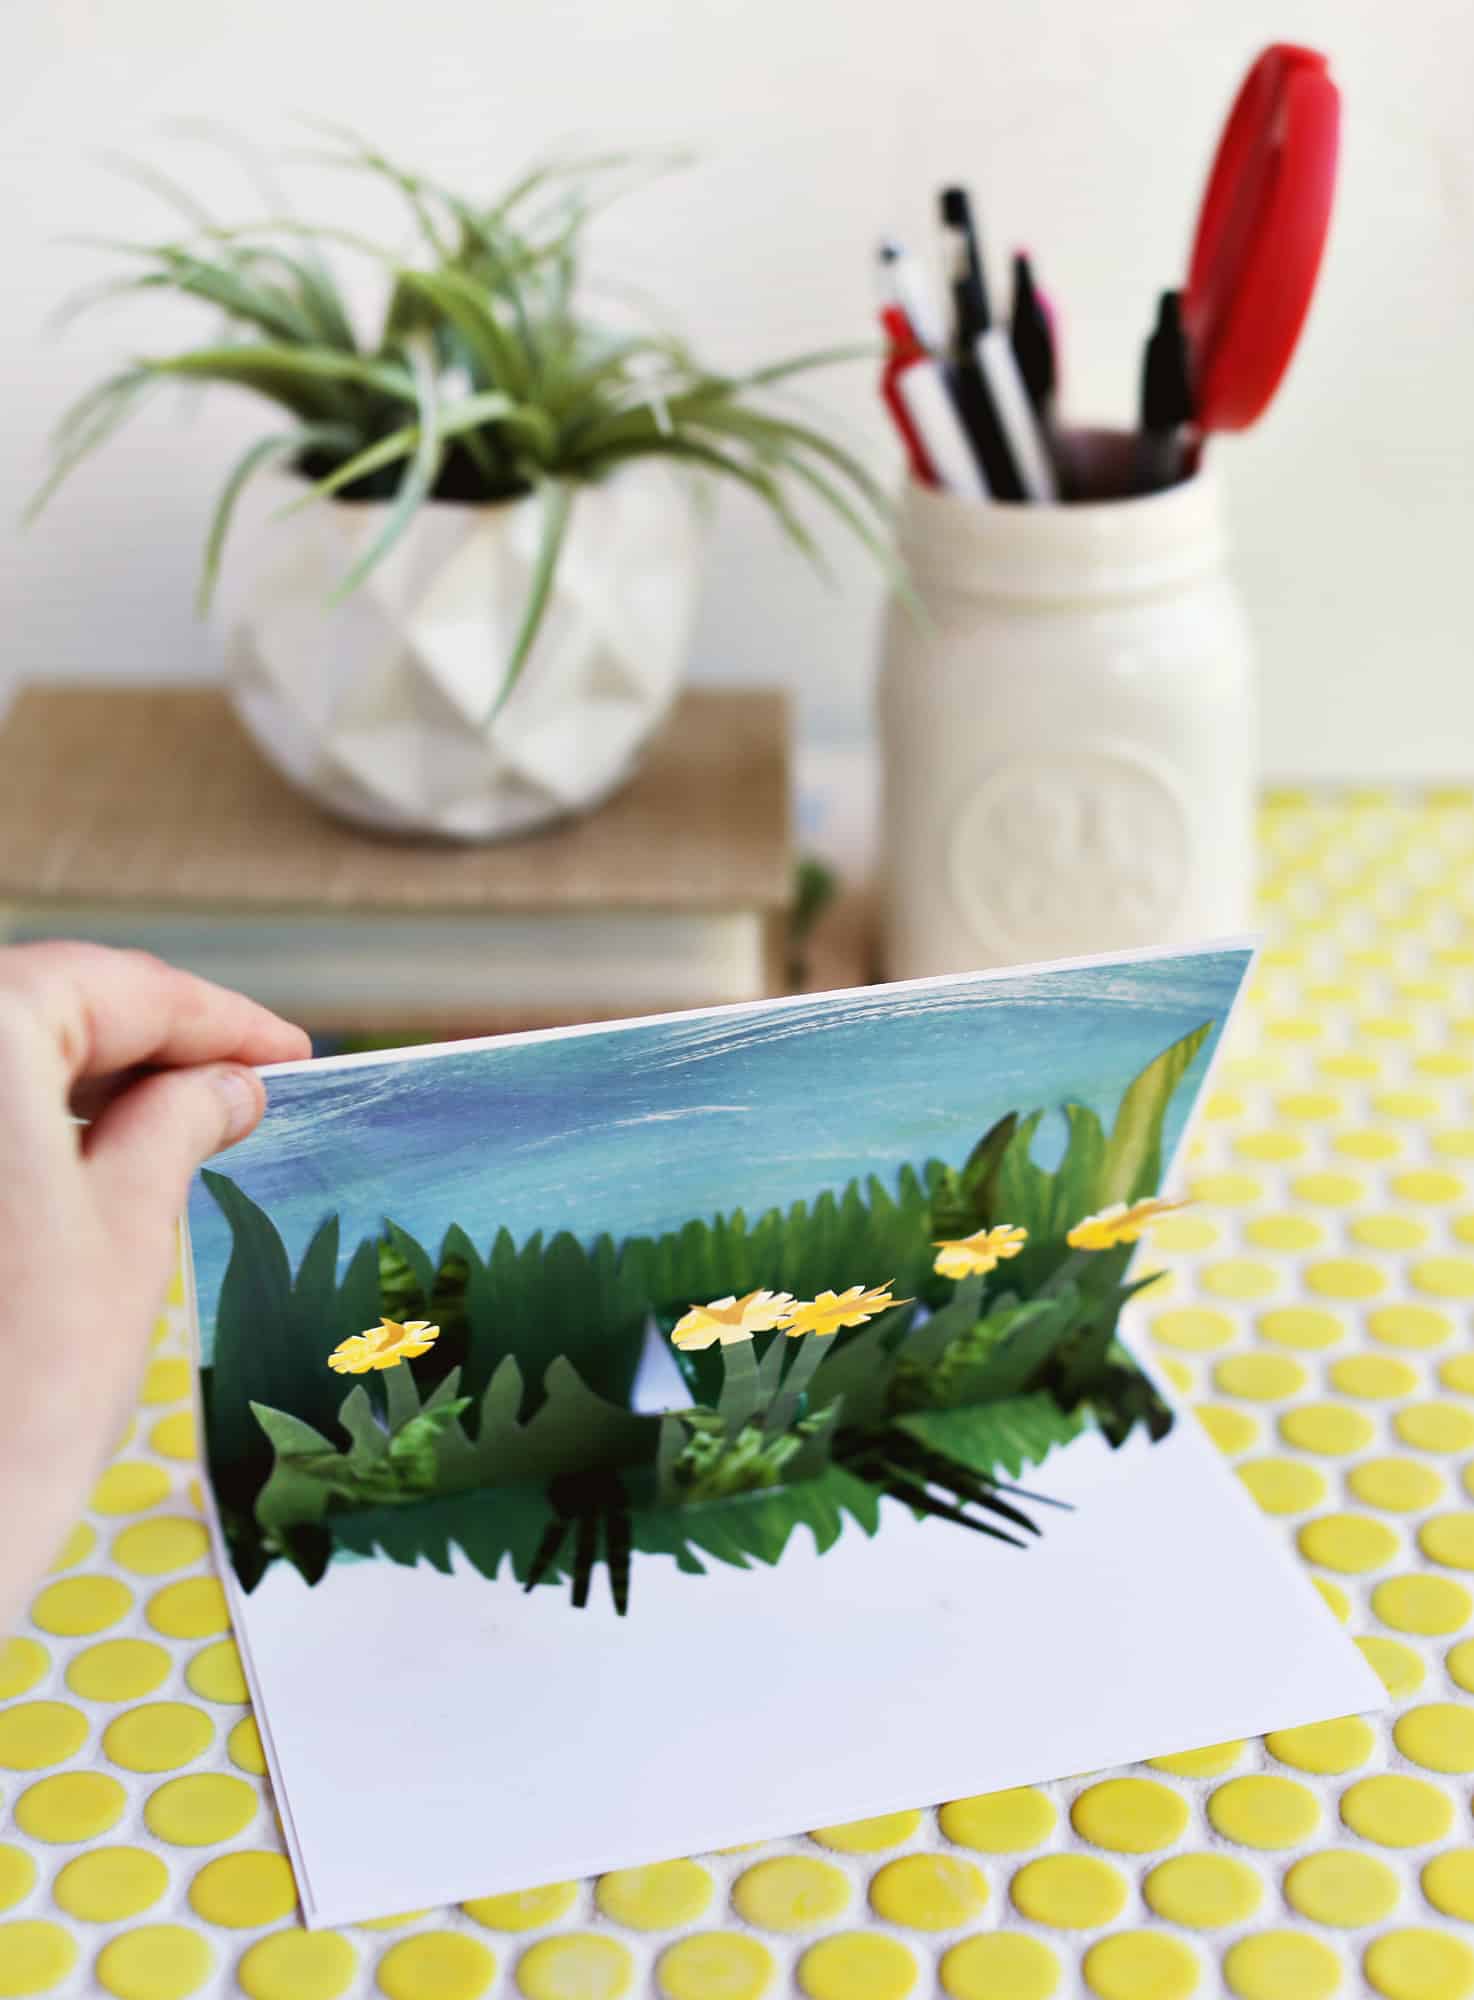 Once the carte is dry out, you lot're ready to add a message to the within and post or deliver it. Simple, right? You tin can totally get elaborate with the inside design, but the mechanics of making the pop-up card are very simple.
 Thanks for letting me share this super simple tutorial for making a pop-up carte. Like I mentioned, I've loved making these since high schoolhouse. It'due south something lots of unlike ages tin do and you lot need very few supplies—such a fun fiddling craft. Enjoy! xo. Emma
How to Brand a Simple Pop-Upwards Card
- paper
- scissors
- glue or glue stick
- collage papers or printed photos
- scissors
-
Create a card that fits inside your outer card. The outer menu can exist something you lot already accept that you bought or you can make both. But you want one card to fit snuggly inside the other.
-
Cutting tabs to concur your popular-up elements. Yous can accept one master tab or multiples. I fabricated three as the outer 2 are for one layer and the middle i is larger for a second layer.
-
Create the inside elements for your card—the pieces that volition pop upwardly. Make sure the inside elements you create won't hang off the edge of your card once it's closed. Just place them on the tabs to see before the next step.
-
Assemble the bill of fare. I similar using a mucilage stick or something light hither as the dry time is much faster and the papers are less probable to wrinkle with the moisture from the glue. In one case all the pieces are in place, mucilage the inside bill of fare to the outer bill of fare, conscientious not to glue downwardly the tabs. After the card is dry, you're ready to add a message to the inside and postal service or evangelize it.
Credits // Author and Photography: Emma Chapman. Photos edited with A Color Story Desktop. Collage very much inspired by Clover Robin's piece of work, whose volume is linked above. Check her out! Love her fine art.
Source: https://abeautifulmess.com/how-to-make-a-simple-pop-up-card/
Posted by: wellsdresse.blogspot.com
0 Response to "How To Make A Pop Out Card Makeup"
Post a Comment